Experiment: Rate Coding
Rate coding is one way neurons encode information. As the intensity of a stimulus increases, the firing rate of spikes increases as well. In this experiment you will explore the concept of rate coding in a cockroach leg.
Was lernt man hier?
You will learn about rate coding and how the neurons in the cockroach leg follow this model of firing.
Background
Now that you have successfully witnessed spikes, you are ready to record, quantify, and graphically present electrophysiology data. In this exercise, you will use several methods to record data from your cockroach leg and measure the spikes caused by different stimuli. The method you will use to compare differences in spiking from different stimuli is called rate coding and it is one of the most reliable tools in neuroscience.
On the cockroach, each thorn on the leg is innervated by a neuron:
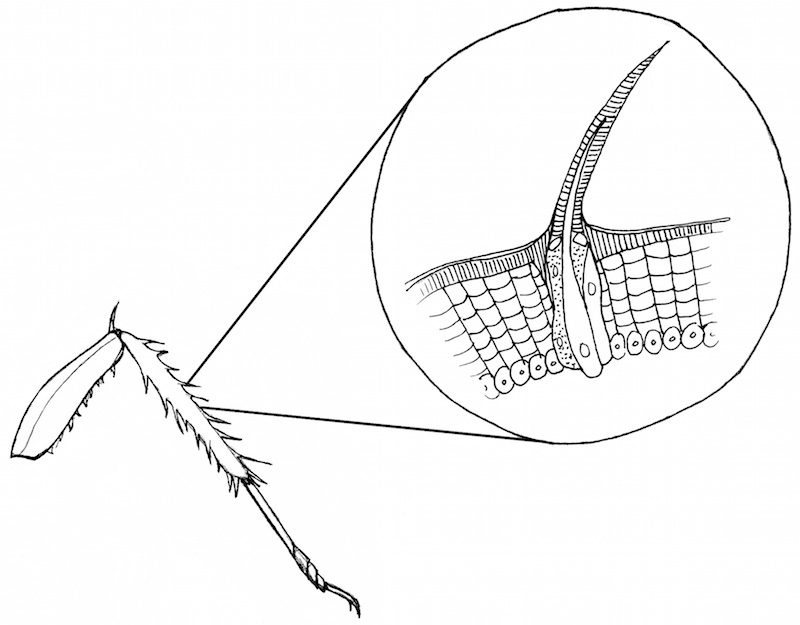
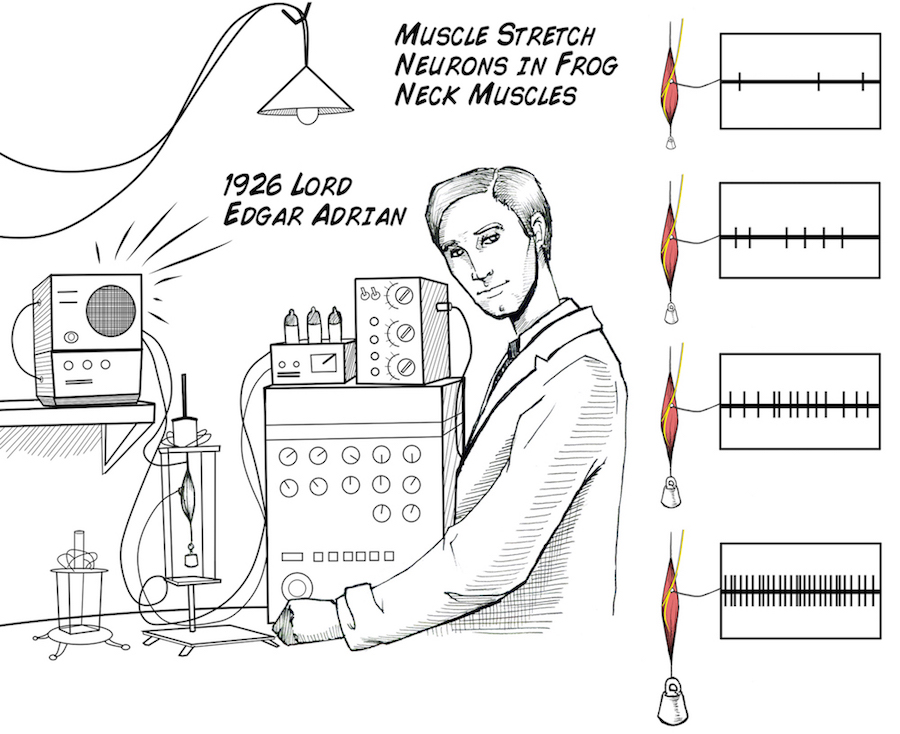
Touching the thorns causes the neurons to fire more spikes. With more force applied to the thorn, more spikes are evoked. This relationship of spikes to stimulus strength is called "rate coding" and was first discovered in 1926.
Downloads
Before you begin, make sure you have the Backyard Brains Spike Recorder installed on your computer/smartphone/tablet. The Backyard Brains Spike Recorder program allows you to visualize and save the data on your computer when doing experiments. We have also built a simple lab handout to help you tabulate your data.
Procedures
Part 1: Observing Spikes
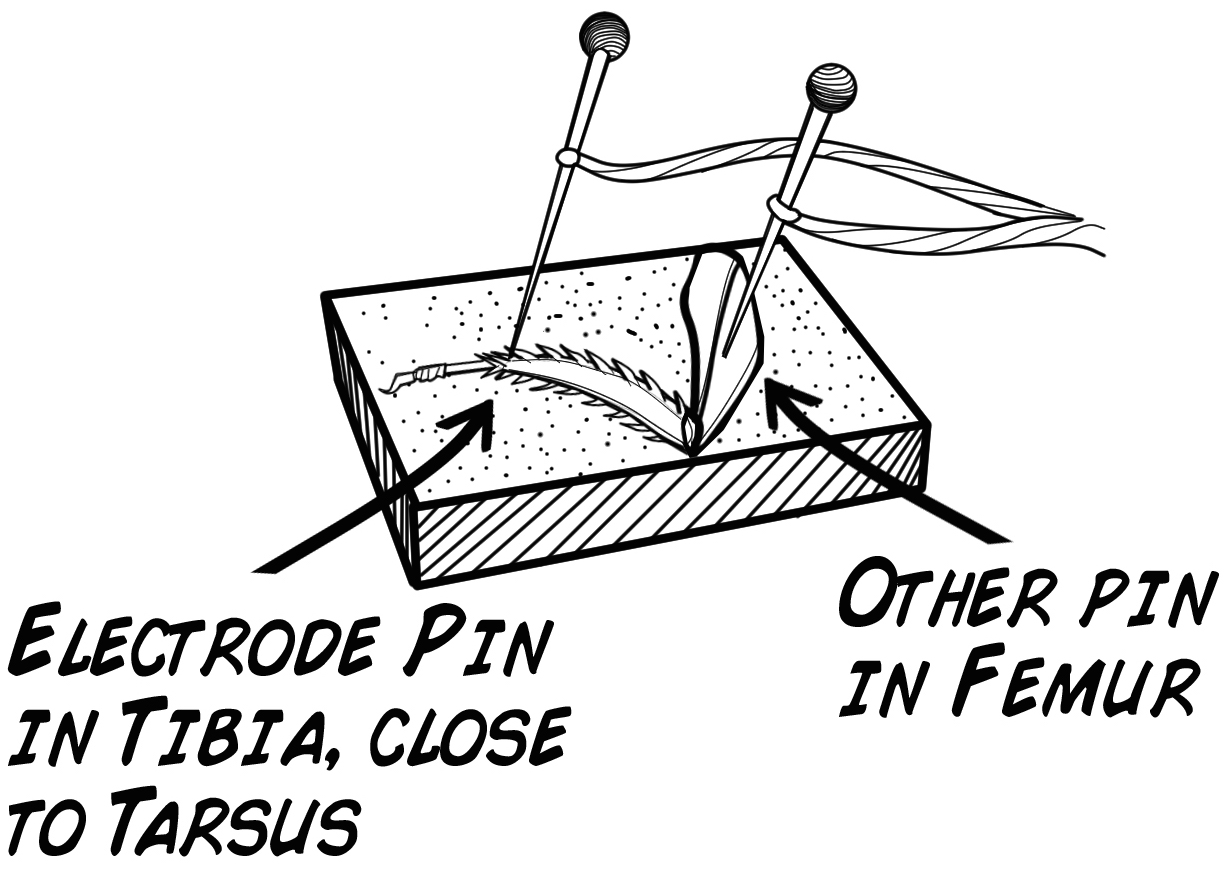
- You'll need a cockroach leg set prepared in the same way as the first lab, Getting Started With the SpikerBox. You will place one electrode in the tibia and one in the femur (see diagram below).
- Plug the audio adapter cable into the SpikerBox and your computer. Note: for the SpikerBox to record properly, your computer's audio input jack must be audio only, not a combined audio In/Out jack. To make sure everything is working properly, listen to the sounds coming from the SpikerBox speaker.
- Open up the BYB SpikeRecorder app. The SpikeRecorder app works like a DVR and is always recording when it is open! But for this experiment, we'll want to start permanently saved recordings by clicking the red circle recording button, located in the upper right corner, before we begin each test.
- Turn off your cell phone and Wi-Fi. Signal interference from these devices is significant. To demonstrate the importance, send a text to another phone in the same room while you are recording from the leg and listen/look for the interference in your recording. What does this tell you about how cell phones work?
- During each experiment, it is wise to record without stopping. Noise created from cell-phones, moving the electrodes, or a variety of other sources can be removed prior to analysis. However, turning your recording on and off may become confusing. The easiest way to keep track of what your data corresponds to is to keep good notes in the space provided.
Part 2: How the Nerves in the Cockroach Leg Respond to Stimulation
You can now begin experimenting with your cockroach leg! With your leg, you will compare how neurons in the leg communicate with different kinds of stimulation.
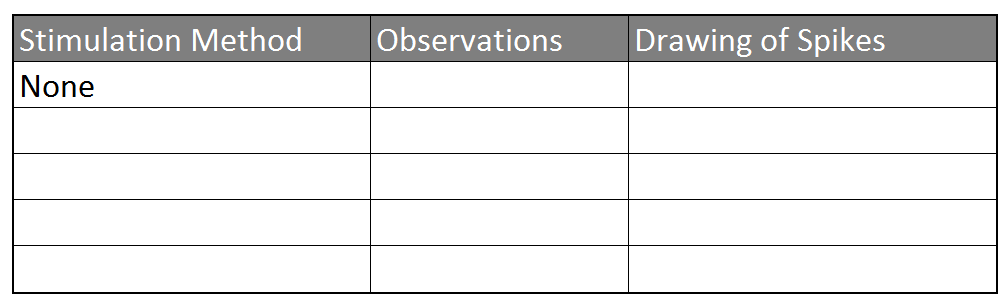
- Record the spontaneous spiking patterns from the leg for a couple of minutes. Note the beginning and end time of your control recordings in Table 1 (for this first recording, your stimulation method will be 'none')
- Take a toothpick and stimulate the barbs on the tibia of the leg. Try several variations of stimulation including constant pressure or repetitive poking, until you find one that gives you consistent reactions. Write your stimulation methods in Table 1.
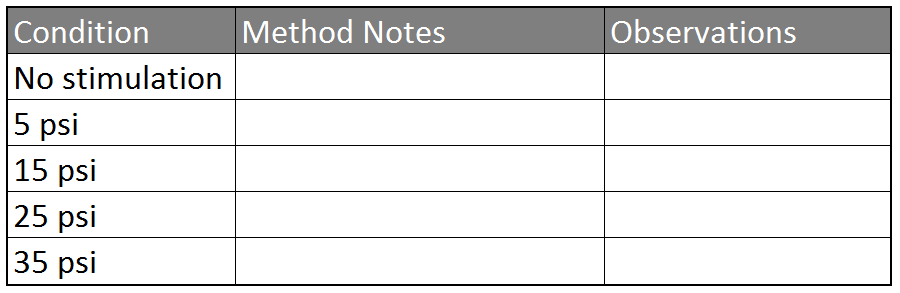
Table 1: Observing Stimuli
Now you will do a controlled experiment to see how different strengths of stimulation affect the cockroach leg. You will use the compressed air on your lab bench to stimulate the cockroach leg for this experiment.
Note: No Compressed Air? No Problem!
If you don't have compressed air in your laboratory, home, classroom, backyard, or wherever you choose to study neuroscience, there are still plenty of ways to do this experiment. Here are some that have worked for us:
- Use a drinking straw and blow on the cockroach leg from different heights. You can tape straws at different heights to a ruler, to standardize the heights. Be sure to remind students to blow consistently during each trial.
- You can purchase compressed air in an aerosol canister at an office supply store. Compressed air is often sold in the computer section because it is used to clean keyboards and computer components. As with the drinking straw method, you can hold the compressed air canister at different heights to achieve different strengths of stimulation (you could try using a yard or meter stick and measuring at different distances).
- Lastly, if air isn't an option, this lab can also be performed by taking a toothpick (or other non-conductive tool) and pressing down on the cockroach leg for a fixed amount of time. Record the RMS of soft, medium, and hard presses.
- First observe the spikes that occur without any stimulation. Record the length of your observation and write down any notes that you observe. Stop recording and save it as "Control Recording"
- Give the cockroach leg at least a 30 second break. Next, start recording and stimulate the leg by turning on the compressed air at the lowest pressure (5 psi). Use the hose to direct the compressed air at the cockroach leg. Stimulate it for at least 10 seconds, then give it a few bursts. Save as "5 psi Recording".
- Now raise the air pressure to the other psi levels listed in the table and follow the same procedure.
Table 2: Stimulating the Leg
Part 3: Basic Analysis of Spikes
- Open up your control file and measure the RMS over a 5s window by right clicking and dragging to the right until the time measurement reads 5.0s - don't let go of your right click yet, look on the screen for the RMS value. Record this in the table.
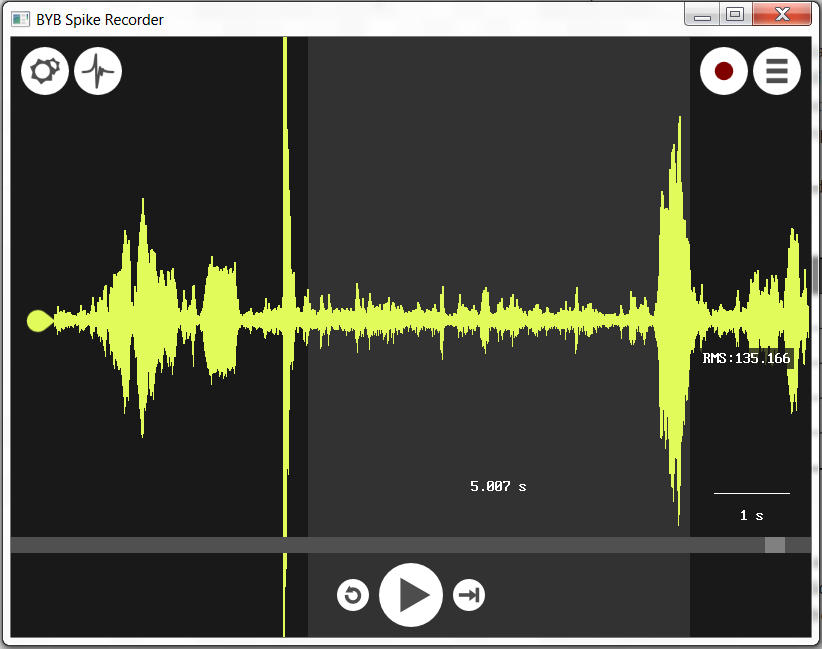
- Do the same for each of your recordings, measuring the RMS over a 5s window of stimulation.
When you are looking at your control recording, consider this: What was the height(or depth) of the largest spike in the "no stimulation" condition and does this seem like a reasonable threshold for determining what constitutes a spike in the other treatments? (i.e. is it surprisingly large or small, or did it occur due to some accidental stimulus you recorded in your notes?) As you go through your recordings, continue to mark down your observations.
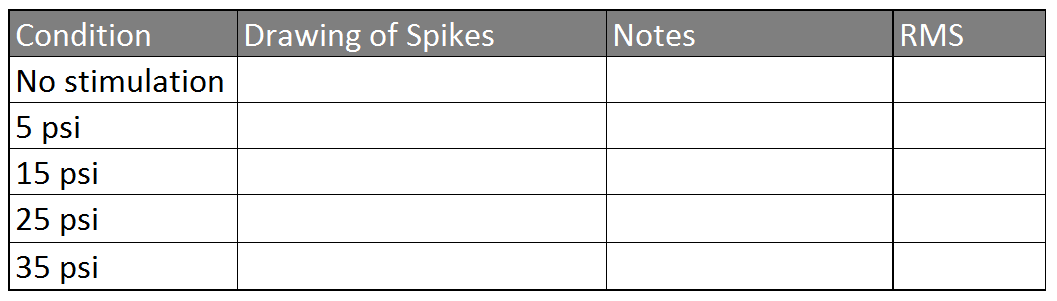
Table 3: Spike Analysis
So what did you find? Think about your results. Did anything about the experiment surprise you? If so, can you explain why? Anything with a nervous system uses rate coding, including us! Think about all the ways your body uses rate coding, for example, think about the difference between a shallow and hard poke in the arm!
Consider ways you could expand the experiment. Maybe you could compare multiple cockroach legs and come up with some average standards, compare a cockroach leg to a grasshopper leg, experiment with electrode placement, or introduce chemical treatments to the cockroach legs! The world is yours, go out and experiment!